

Maintaining clean water storage is essential for health and safety in UAE homes and buildings. The water tank cleaning process step by step involves meticulous procedures that ensure complete removal of sediment, bacteria, and contaminants while following Dubai Municipality regulations. As a certified water tank cleaning specialist with over 12 years of experience across Dubai, Abu Dhabi, and Sharjah, I have developed a comprehensive understanding of the proper techniques required for different tank types and conditions.
This detailed guide will walk you through the professional water tank cleaning process step by step, explaining what happens during a typical service visit. Whether you have an underground concrete tank, an overhead plastic tank, or a complex commercial water storage system, understanding these procedures will help you appreciate the importance of professional cleaning and maintain better water hygiene standards for your family or tenants.
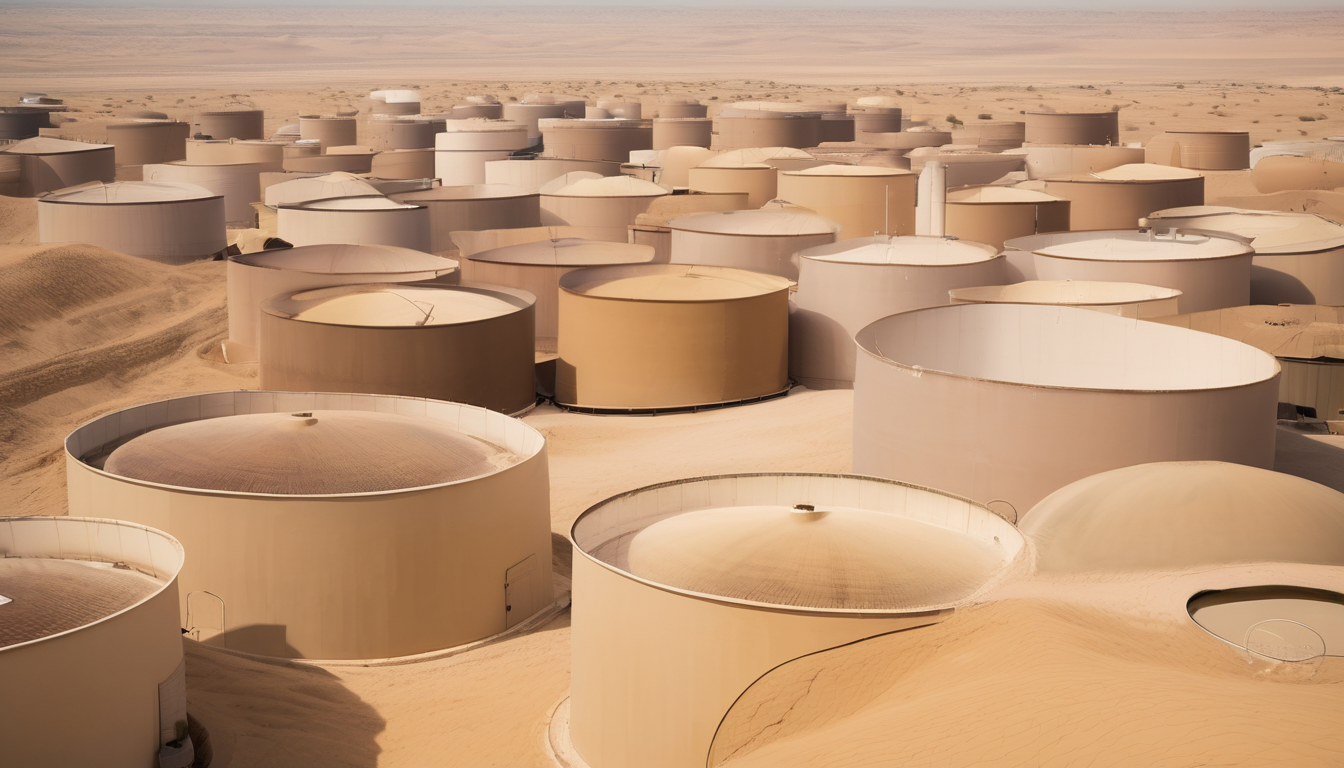
Water Tank Cleaning Process: Pre-Cleaning Preparation Water Tank Assessment
The water tank cleaning process step by step begins with thorough preparation and assessment. Before any cleaning occurs, our team conducts a comprehensive inspection of the tank’s condition, location, and accessibility. We check for visible cracks, leaks, lid integrity, and any signs of contamination around the tank area. This initial assessment helps us determine the appropriate cleaning methods and identify any potential safety concerns.
We also review the building’s water usage patterns to schedule the cleaning at the least disruptive time. For residential villas, this might mean coordinating with families to ensure minimal inconvenience. For commercial buildings and apartments, we work with property managers to schedule during low-usage hours. Safety equipment including harnesses, masks, gloves, and non-slip footwear are prepared according to Dubai Municipality safety standards before commencing the water tank cleaning process step by step.
Water Tank Cleaning Process: Draining and Isolation Water Tank Procedure
The next phase in the water tank cleaning process step by step involves completely draining the tank and isolating it from the building’s water supply. Our technicians first shut off the main water supply to prevent refilling during cleaning. We then open drainage valves or use submersible pumps to remove all water from the tank. This step requires careful execution to avoid flooding or water damage to surrounding areas.
Once emptied, we physically isolate the tank from the building’s plumbing system by closing inlet and outlet valves. This critical safety measure prevents contaminated water from entering the clean water supply during the cleaning process. For underground tanks, we ensure proper ventilation before entry and use gas detectors to check for hazardous air conditions. The draining phase typically takes 30-60 minutes depending on tank size, ranging from 500-gallon residential tanks to 10,000-gallon commercial systems.
Water Tank Cleaning Process: Manual Cleaning Water Tank Interior
The manual cleaning stage represents the core physical work in the water tank cleaning process step by step. Certified technicians enter the tank (when safe and accessible) to manually scrub all interior surfaces using specialised brushes and non-abrasive cleaning tools. We focus on removing sediment, sludge, biofilm, and mineral deposits that accumulate over time. For concrete tanks, we pay particular attention to porous surfaces where bacteria can thrive.
We use high-pressure jet washing for stubborn deposits and hard-to-reach areas. The cleaning solutions employed are always Dubai Municipality-approved disinfectants that effectively remove contaminants without leaving harmful residues. This manual scrubbing phase is the most labour-intensive part of the water tank cleaning process step by step, typically taking 1-3 hours depending on tank size and contamination level. Regular tanks may require 1-2 hours, while neglected tanks with heavy sediment might need 3-4 hours of thorough cleaning.
Disinfection Process Water Tank Treatment
After manual cleaning, the disinfection phase begins in the water tank cleaning process step by step. We apply Dubai Municipality-approved chlorine-based disinfectants at precisely calculated concentrations to eliminate any remaining bacteria, viruses, and microorganisms. The disinfectant solution is evenly distributed across all interior surfaces and allowed to sit for a specific contact time (usually 30-60 minutes) to ensure complete microbial elimination.
We carefully measure chlorine levels to maintain effectiveness while ensuring the concentration remains within safe limits for potable water. This precise calibration is why professional expertise matters in the water tank cleaning process step by step. Our technicians use testing kits to verify proper disinfectant levels throughout this phase. For tanks serving sensitive facilities like schools, nurseries, or medical centres, we may use additional non-chlorine disinfectants approved for these environments.
Rinsing and Refilling Water Tank
The rinsing and refilling stage is crucial in the water tank cleaning process step by step to ensure no cleaning residues remain. After the disinfectant contact time elapses, we thoroughly rinse all tank surfaces with clean water multiple times. We pay special attention to corners, joints, and overhead surfaces where disinfectant might accumulate. The rinse water is completely drained between cycles until water tests show no disinfectant residue.
Once rinsing is complete, we refill the tank with fresh, clean water and restore the building’s water supply. We conduct initial water quality tests to verify clarity, pH levels, and chlorine residuals. For the first 24 hours after cleaning, we recommend using tap water for cleaning purposes only and using bottled water for drinking and cooking until the system fully stabilises. This precautionary measure ensures absolute safety following the water tank cleaning process step by step.
Post-Cleaning Documentation Water Quality
The final administrative phase in the water tank cleaning process step by step involves comprehensive documentation and customer reporting. We provide detailed service reports that include before-and-after photos, cleaning checklist completion, water test results, and any recommendations for ongoing maintenance. This documentation is essential for property managers and homeowners to maintain compliance records for Dubai Municipality inspections.
Our reports also note any observed issues such as cracks, leaks, or necessary repairs that might require attention before the next scheduled cleaning. We advise on optimal cleaning frequencies based on tank type, usage patterns, and local conditions. This complete documentation transforms the water tank cleaning process step by step from a simple service into a valuable health investment with verifiable results and ongoing maintenance guidance.
Expert Tips for Water Tank Cleaning
Based on my extensive experience with the water tank cleaning process step by step, here are essential tips for UAE residents:
Schedule Regular Professional Cleaning
Underground tanks should be cleaned every 6 months, overhead tanks annually. High-usage buildings may require quarterly cleaning. Regular maintenance prevents severe contamination and reduces cleaning complexity.
Monitor Water Quality Between Cleanings
Watch for changes in water colour, odour, or taste. Sediment in taps or skin irritation after bathing may indicate developing contamination issues requiring attention before your next scheduled cleaning.
Ensure Proper Tank Maintenance
Keep tank lids securely closed, repair cracks promptly, and maintain surrounding areas clean. Preventative measures significantly reduce contamination between professional cleaning sessions.
Choose DM-Approved Service Providers
Always verify that your cleaning company uses Dubai Municipality-approved disinfectants and methods. Proper certification ensures compliance and protects your water quality.
Maintain Complete Documentation
Keep all service reports and water test results. These documents are essential for compliance and help track your tank’s condition over time.
Water Tank Cleaning FAQ
How long does the complete water tank cleaning process step by step take?
The entire process typically takes 3-6 hours depending on tank size and accessibility. Small residential tanks (500-1,000 gallons) usually require 3-4 hours, while large commercial tanks (5,000-10,000 gallons) may need 5-6 hours for complete cleaning and disinfection.
Is it safe to drink water immediately after tank cleaning?
We recommend using tap water for cleaning purposes only for the first 24 hours after service. Use bottled water for drinking and cooking during this period to allow the system to stabilise completely before consuming tap water.
What certifications should I look for in a cleaning company?
Choose companies with Dubai Municipality approval, certified technicians, proper insurance coverage, and documented cleaning procedures. These credentials ensure compliance with UAE water safety standards.
How much does professional water tank cleaning cost in Dubai?
Costs range from AED 450-900 for residential tanks and AED 1,200-2,500 for commercial systems depending on size, location, and contamination level. Prices include complete cleaning, disinfection, and water testing.
Can I clean my water tank myself?
DIY cleaning is not recommended. Professional cleaning involves specialised equipment, safety protocols, and approved disinfectants that homeowners typically cannot access properly. Improper cleaning can actually worsen contamination issues.
Understanding the complete water tank cleaning process step by step helps homeowners and property managers appreciate the importance of professional service. Following Dubai Municipality guidelines ensures your water storage remains hygienic and safe for all users. Regular professional cleaning protects your family’s health and maintains your property’s compliance with UAE water safety regulations.