


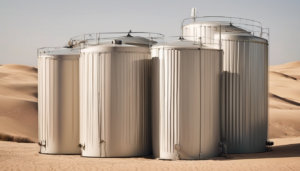
Water tank chlorination remains the most effective method for ensuring safe, potable water in Dubai’s residential and commercial properties. The water tank chlorination process step by step involves precise chemical application, thorough mixing, and controlled contact time to eliminate harmful bacteria, viruses, and biofilm. In the UAE’s climate, where high temperatures accelerate bacterial growth, understanding this process becomes essential for every property owner, facility manager, and maintenance team.
Proper water tank chlorination process step by step implementation follows Dubai Municipality guidelines and international water safety standards. This comprehensive guide will walk you through each critical phase, from preparation and safety measures to final testing and documentation. Whether you maintain a villa in Arabian Ranches, an apartment building in Downtown Dubai, or a commercial facility in Jebel Ali, mastering this water tank chlorination process step by step ensures compliance and protects occupants’ health.
The water tank chlorination process step by step approach requires technical knowledge, appropriate equipment, and understanding of local regulations. This article provides detailed instructions, practical tips, and expert insights gained from years of professional water tank cleaning and disinfection experience across Dubai, Abu Dhabi, and Sharjah.
Water Tank Chlorination Process – Understanding Water Tank Chlorination Fundamentals
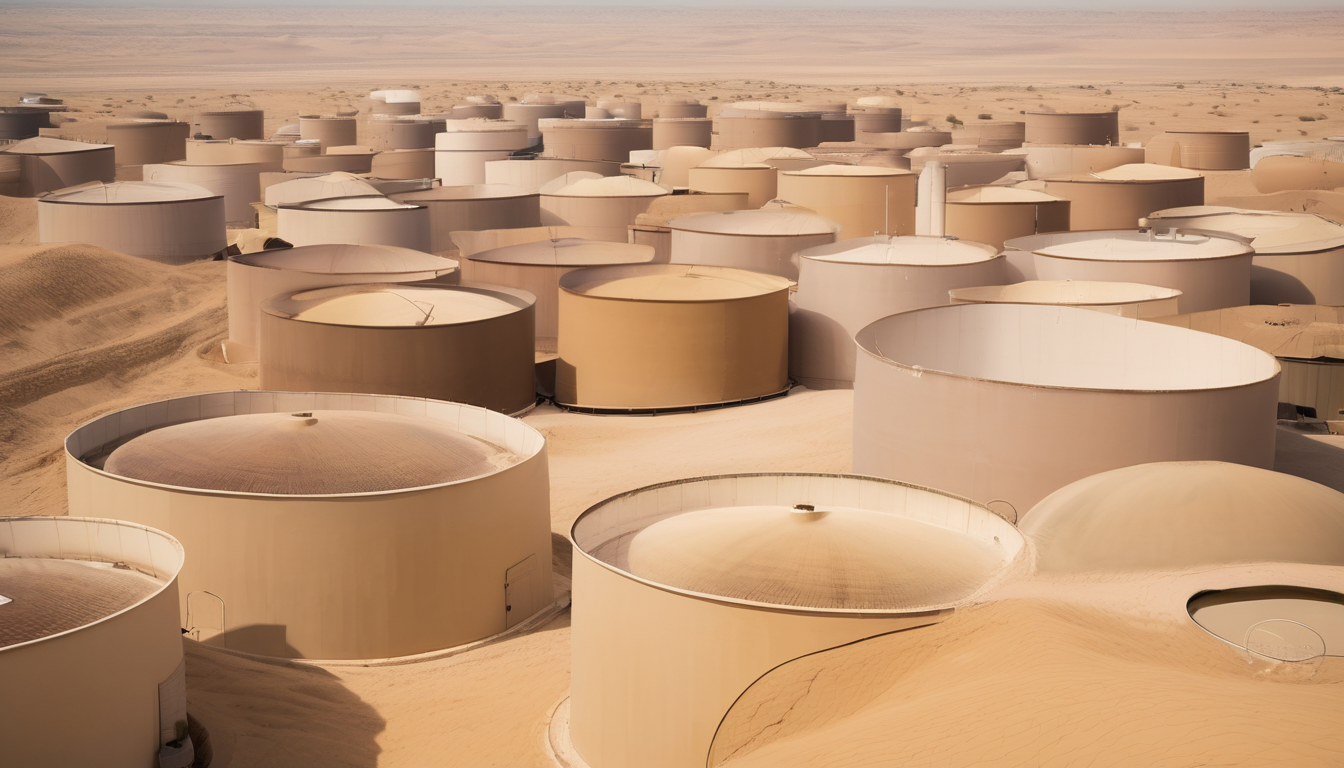
The water tank chlorination process step by step begins with understanding why chlorination remains the gold standard for water disinfection. Chlorine effectively destroys pathogenic microorganisms, including bacteria, viruses, and protozoa, that can thrive in storage tanks. In Dubai’s warm climate, where water temperatures in tanks can exceed 30°C, microbial growth accelerates significantly, making regular disinfection crucial.
Chlorine works through oxidation, damaging cell structures and destroying enzymes that microorganisms need to survive. The effectiveness depends on chlorine concentration, contact time, water temperature, and pH level. Dubai Municipality recommends maintaining a free chlorine residual of 0.2–0.5 mg/L in drinking water after treatment, ensuring ongoing protection throughout the distribution system.
Different chlorine compounds serve specific purposes in the water tank chlorination process step by step. Calcium hypochlorite (65-70% available chlorine) is commonly used for tank disinfection due to its stability and high concentration. Sodium hypochlorite (12-15% available chlorine) offers easier dissolution but requires careful handling. Professional services typically use Dubai Municipality-approved compounds that meet strict purity standards.
Water Tank Chlorination Process – Pre-Chlorination Preparation and Safety Measures
Before commencing the water tank chlorination process step by step, thorough preparation ensures safety and effectiveness. Begin by scheduling the disinfection during low water usage periods, typically early morning or weekdays for commercial properties. Notify all building occupants about temporary water interruption, especially in residential towers and office buildings.
Gather all necessary personal protective equipment (PPE) including chemical-resistant gloves, safety goggles, protective clothing, and respiratory protection if working in confined spaces. Ensure adequate ventilation for underground tanks and have emergency eyewash stations accessible. Professional technicians always carry first aid kits and emergency contact information during the water tank chlorination process step by step.
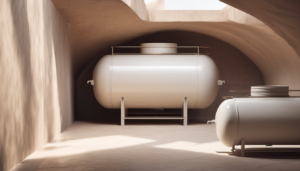
Prepare the required equipment: submersible pump for drainage, high-pressure jetting machine for cleaning, chlorine testing kit, measuring containers, mixing equipment, and documentation materials. Verify that all electrical equipment is properly grounded and suitable for wet environments. For large tanks exceeding 10,000 litres, additional safety harnesses and communication devices become necessary.
Water Tank Chlorination Process: Water Draining and Tank Cleaning Procedure
The actual water tank chlorination process step by step begins with complete drainage of the existing water. Using a submersible pump, remove all water from the tank, directing it to appropriate drainage points without causing flooding or environmental contamination. For underground tanks, ensure proper sump pump operation and check that drainage pipes remain clear throughout the process.
After drainage, conduct thorough mechanical cleaning to remove sediment, scale, and biofilm. Use high-pressure jetting (minimum 1000 psi) with potable water to dislodge debris from tank walls, floors, and corners. For stubborn deposits, manual brushing with stiff nylon brushes may be necessary. Pay special attention to corners, seams, and areas around inlet/outlet pipes where contamination often accumulates.
Remove all dislodged debris using wet vacuum equipment designed for sludge removal. Inspect the tank interior for cracks, corrosion, or structural issues that might compromise water quality. Document any findings with photographs for maintenance records and client reporting. The cleaning phase typically requires 2-4 hours depending on tank size and contamination level.
Chlorine Solution Preparation and Calculation
Proper chlorine solution preparation represents the most technical aspect of the water tank chlorination process step by step. Calculate the required chlorine dosage based on tank volume, water temperature, and desired concentration. For initial disinfection, professionals typically aim for 50 mg/L chlorine concentration, which requires approximately 7 grams of calcium hypochlorite (65%) per 100 litres of water.
Prepare the chlorine solution in a separate mixing container using clean, potable water. Always add chlorine compounds to water rather than water to chlorine to prevent splashing and excessive heat generation. Stir continuously until complete dissolution occurs. For larger tanks, prepare multiple batches to ensure consistent concentration throughout the application process.
Test the prepared solution using a chlorine test kit to verify concentration before application. Adjust if necessary by adding more chlorine compound or dilution water. Professional services use digital chlorine meters for precise measurement, ensuring accuracy within ±0.1 mg/L. Document the preparation details including batch quantities, mixing time, and measured concentration for quality assurance records.
Application and Contact Time Process
The application phase of the water tank chlorination process step by step requires systematic coverage of all interior surfaces. Using low-pressure spray equipment, apply the chlorine solution evenly across walls, floors, and ceiling surfaces. Begin from the farthest point from the entrance and work backward to ensure complete coverage without missing any areas.
After surface application, introduce the remaining chlorine solution into the tank, then add clean water until the tank reaches approximately 20% capacity. Circulate the water using a pump or mechanical agitation to ensure thorough mixing and contact with all surfaces. Maintain this chlorine solution in the tank for the required contact time, typically 4-6 hours for effective disinfection.
During the contact period, monitor chlorine levels periodically to ensure concentration remains above 25 mg/L. If levels drop significantly, additional chlorine may need to be added. The contact time allows chlorine to penetrate biofilm and destroy microorganisms effectively. For tanks with heavy bacterial contamination or visible biofilm, extended contact time up to 12 hours may be necessary following Dubai Municipality guidelines.
Rinse, Refill, and Water Quality Testing
After completing the contact time, the rinsing phase of the water tank chlorination process step by step begins. Drain the chlorinated water completely, ensuring proper disposal according to local regulations. Avoid draining into garden areas or storm drains as high chlorine levels can damage plants and aquatic life. Professional services often neutralize chlorine with sodium thiosulfate before disposal when required.
Rinse the tank thoroughly with clean potable water, using high-pressure jetting to remove any remaining chlorine residue. Perform multiple rinse cycles until the drained water shows no chlorine smell or taste. Test the final rinse water for chlorine residual using a testing kit, ensuring levels below 0.5 mg/L before proceeding to refill.
Refill the tank with clean municipal water and conduct comprehensive water quality testing. Test for chlorine residual (0.2-0.5 mg/L), pH (6.5-8.5), turbidity (<1 NTU), and conduct microbiological testing if required. For commercial properties and buildings with sensitive occupants (hospitals, schools), additional testing for coliform bacteria may be necessary. Document all test results for compliance records.
Documentation and Maintenance Planning
The final phase of the water tank chlorination process step by step involves comprehensive documentation and maintenance planning. Prepare a detailed service report including before-and-after photographs, chlorine concentration records, water test results, and any observations regarding tank condition. This documentation proves essential for Dubai Municipality compliance audits and property management records.
Provide the client with a maintenance schedule based on tank usage, water quality, and local regulations. For most residential properties in Dubai, quarterly inspection and annual disinfection are recommended. Commercial properties, hospitals, and schools may require more frequent disinfection—typically every six months or quarterly for high-risk facilities.
Recommend ongoing monitoring procedures including visual inspection, periodic water testing, and awareness of changes in water quality. Educate property managers and homeowners about signs indicating need for disinfection: cloudy water, unusual odours, sediment presence, or changes in water taste. Proper documentation and maintenance planning complete the professional water tank chlorination process step by step, ensuring long-term water safety.
Expert Tips for Effective Chlorination
Based on years of professional experience across thousands of water tanks in Dubai, these expert tips enhance the effectiveness of your water tank chlorination process step by step:
- Always test water temperature before chlorination—warmer water requires slightly higher chlorine concentrations for effective disinfection
- Use calibrated testing equipment rather than test strips for accurate chlorine measurement in critical applications
- For large tanks, divide into sections during application to ensure even coverage and prevent missed spots
- Schedule disinfection during cooler parts of the day to minimize chlorine dissipation and maintain effective concentration
- Document every step with photographs—visual records help track tank condition over time and identify developing issues
- Train all personnel in emergency procedures for chlorine exposure, including eyewash use and emergency shower operation
- Establish a clear communication protocol with building occupants regarding water interruption timelines and safety precautions
- Maintain equipment calibration records and service logs for all testing equipment used in the process
Frequently Asked Questions
How often should water tank chlorination be performed in Dubai?
Dubai Municipality recommends annual chlorination for residential properties and semi-annual for commercial buildings. However, factors like water quality, tank material, and usage patterns may require more frequent disinfection. High-rise buildings with complex distribution systems often benefit from quarterly maintenance.
What chlorine concentration is safe for drinking water after disinfection?
After proper rinsing, the chlorine residual in drinking water should measure between 0.2-0.5 mg/L—sufficient to maintain disinfection throughout the distribution system without affecting taste or safety. Levels above 1.0 mg/L may cause noticeable taste and should be avoided.
Can I perform water tank chlorination myself?
While basic disinfection is possible for small tanks, professional service is recommended for most applications. Technicians have proper equipment, testing instruments, and knowledge of Dubai Municipality requirements. Improper chlorination can create compliance issues or insufficient disinfection.
How long does the complete chlorination process take?
A standard residential tank (2000-5000 litres) typically requires 6-8 hours including preparation, cleaning, disinfection, and testing. Larger commercial tanks may need 12-24 hours depending on size and complexity. Planning for adequate water interruption time is essential.
What are the signs that my water tank needs chlorination?
Visible sediment, cloudy water, unusual odours (musty or chlorine-like), changes in water taste, and recurrent slime formation in fixtures indicate need for disinfection. Regular scheduled maintenance prevents these issues from developing.
Mastering the water tank chlorination process step by step ensures your property maintains Dubai Municipality compliance and provides safe, clean water for all occupants. Whether you manage a villa community in Emirates Hills, an office tower in DIFC, or a school in Sharjah, proper disinfection protocols protect health and prevent waterborne issues. Professional water tank chlorination services bring technical expertise, proper equipment, and regulatory knowledge to ensure this critical process achieves optimal results every time.