

Introduction
Post-cleaning inspection is essential in ensuring the effectiveness of water tank cleaning and disinfection. It involves a series of checks that confirm all areas of the tank are clean, free from contaminants, and safe for use. By following this inspection checklist for water tanks, you can avoid potential risks such as recontamination or incomplete cleaning.
Table of Contents
- Why Post-Cleaning Inspection Matters
- Post-Cleaning Inspection Checklist for Water Tanks
- 1. Visual Inspection
- 2. Chemical Residuals Test
- 3. pH Testing
- 4. Bacteria Sampling
- 5. Water Quality Assessment
- 6. Equipment and Supply Check
- 7. Final Inspection
- Expert Tips for Effective Post-Cleaning Inspections
- FAQ
- Conclusion
Why Post-Cleaning Inspection Matters
Post-cleaning inspection is essential in ensuring the effectiveness of water tank cleaning and disinfection. It involves a series of checks that confirm all areas of the tank are clean, free from contaminants, and safe for use. By following this checklist for water tanks, you can avoid potential risks such as recontamination or incomplete cleaning.
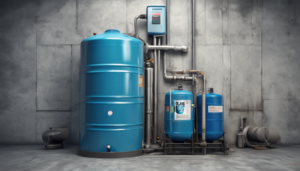
Post-Cleaning Inspection Checklist for Water Tanks
A well-structured post-cleaning inspection checklist for water tanks ensures that no detail is overlooked. Here are the key steps to follow:
- Visual Inspection
- Chemical Residuals Test
- pH Testing
- Bacteria Sampling
- Water Quality Assessment
- Equipment and Supply Check
- Final Inspection
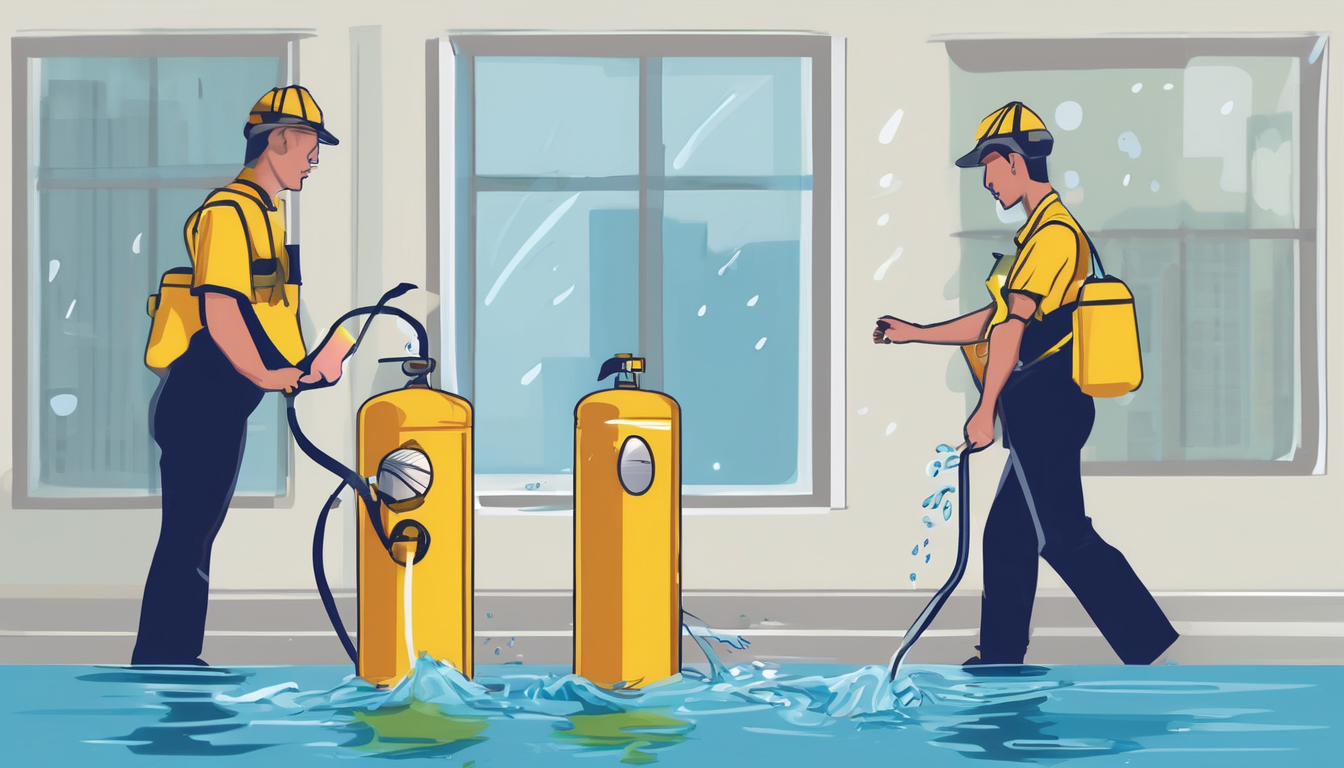
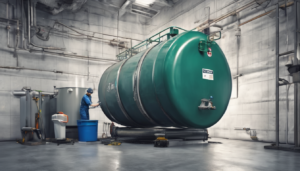
1. Visual Inspection
A visual inspection of the tank should be the first step in your post-cleaning process. Check for any visible signs of contamination, such as:
- Discolored water or sediment at the bottom of the tank
- Algae growth on the walls and surfaces inside the tank
- Presence of biofilm that may indicate bacterial activity
Understanding the post-cleaning inspection checklist for water tanks is essential. If any signs of contamination are found, it may be necessary to re-clean specific areas or the entire tank.
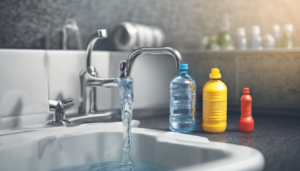
2. Chemical Residuals Test
After cleaning and disinfection, residual chemical levels must be tested. This step in the inspection checklist for water tanks ensures that all harmful chemicals are completely removed before the tank is refilled with fresh water.
- Use a water testing kit to measure chlorine or other disinfectants in the water
- Note any readings above recommended safety limits and take appropriate action, such as extending the dwell time of the chemical or repeating the cleaning process
3. pH Testing
A proper pH level is crucial for maintaining water quality and preventing corrosion. Measure the pH of the tank water to ensure it falls within a safe range, typically between 6.5 and 8.5.
- Use a reliable pH testing kit or meter
- Adjust the pH if necessary using appropriate substances such as baking soda (to raise pH) or citric acid (to lower pH)
4. Bacteria Sampling
Bacterial presence can pose serious health risks, so it’s crucial to test for bacteria levels after cleaning. This critical step in the inspection checklist for water tanks protects health.
- Take samples from various points in the tank using sterile swabs or water samples
- Send these samples to a laboratory for analysis
- Follow DM guidelines on sample collection and transportation
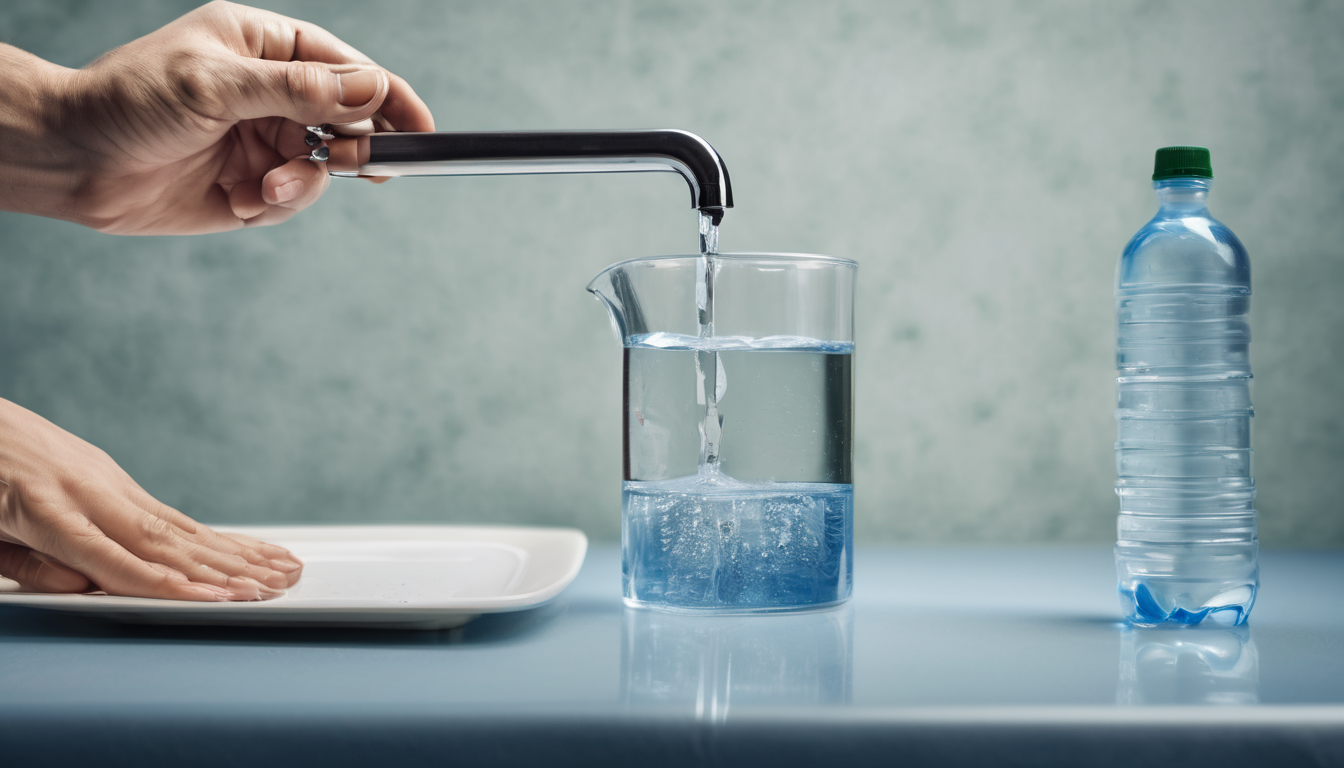
5. Water Quality Assessment
Assess the overall water quality by checking:
- Clarity of the water – Use a clear container or visual inspection
- Taste and odor – Detect any lingering issues from cleaning chemicals
- Total dissolved solids (TDS) levels – Indicate mineral content that might affect taste and quality
Make necessary adjustments if any concerns arise during this phase of the post-cleaning inspection checklist for water tanks.
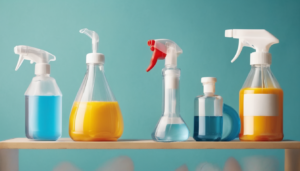
6. Equipment and Supply Check
Ensure all cleaning equipment and supplies are properly stored or disposed of, especially if they were used in the tank.
- Check for any damage to hoses, filters, or other tools
- Disinfect and store reusable items appropriately until the next maintenance cycle
7. Final Inspection
Conduct a final visual and functional check as the last step in your inspection checklist for water tanks:
- Inspect all parts of the tank, including joints and connections, for leaks or damage
- Ensure that the water level is appropriate and that there are no air pockets or blockages in the piping system
Make any necessary repairs before refilling the tank.
Expert Tips for Effective Post-Cleaning Inspections
When implementing your post-cleaning inspection checklist for water tanks, consider these expert tips:
- Document Each Step – Keep a detailed log of all inspections and findings to track progress over time
- Regular Training – Ensure that your maintenance team is regularly trained on the latest cleaning techniques and inspection protocols
- Use Approved Chemicals Only – Stick to Dubai Municipality-approved disinfectants for safety and compliance
- Check with Professionals – For critical areas, consider hiring a professional inspector to conduct detailed checks
FAQ
Q: How often should I inspect my water tank after cleaning? A: Inspect immediately after the final rinse and regularly thereafter, especially before the next scheduled cleaning. Following a comprehensive inspection checklist for water tanks ensures consistency.
Q: What if I find signs of contamination during inspection? A: Address these issues promptly by re-cleaning or seeking professional assistance to ensure safety. Document all findings in your inspection records.
Q: Can I reuse water from the cleaning process for other purposes? A: Never use residual cleaning water for drinking, cooking, or bathing. Dispose of it safely according to local regulations.
Q: How long does a post-cleaning inspection take? A: A thorough inspection following the complete checklist for water tanks typically takes 1-2 hours depending on tank size and complexity.
Conclusion
Post-cleaning inspections are a crucial step in maintaining the hygiene and safety of your water storage system. By following this comprehensive inspection checklist for water tanks, you can ensure that your tank is clean and ready for use, protecting your family from potential health risks.
Regular inspections not only maintain water quality but also prevent costly recontamination issues. Understanding and implementing the post-cleaning inspection checklist for water tanks is key to success in this area.